The finger knitting bug bit me good and proper after seeing this tutorial on Design Sponge (one of my favourite blackholes!) for a chunky finger knit pillow. Easy to follow, step-by-step instructions for the finger knitting part can be found on Flax & Twine. Moms, take note finger knitting is an excellent way to keep little hands busy on rainy days 🙂 Smokers and nibblers (I fall into both those categories… /0\), it is a great way to keep you from overindulging as your one hand is tied up, so to speak.
So considering that winter is coming and that a snood seems to be the must have accessory this winter I set out to finger knit myself one. I bought some wool and started finger knitting like a crazy person, ending up with a 21m long finger knitted ‘tube’. It turns out 21m of wool around your neck is rather uncomfortable and not really a snood…


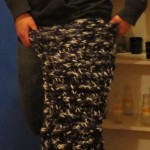

Right so reboot the idea and take into account the things you learned from round number one..
- You inadvertently start making smaller circles when stitching the concentric circles, so use a frame to work around. I used a large serving platter after realising I am going to end up with a tea cosy instead of a snood.
- The wool inevitably stretches as you stitch it together, so if you want a width of 40 cm use a 50 cm frame to work on. I upgraded the serving platter to a laptop desk.
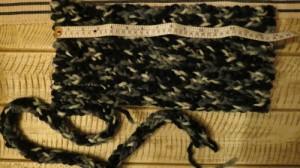
- As illustrated above, 21 m is too long to turn into a snood. Wrap the tube around your frame until your happy with the height of it and mark the end.
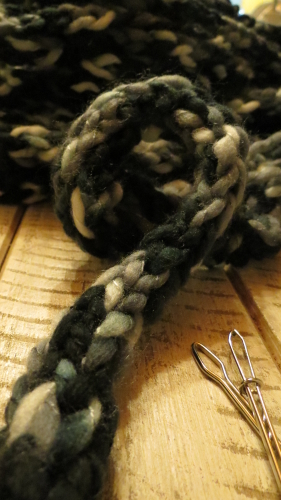
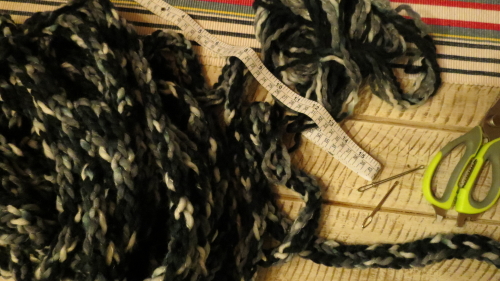
Depending on the thickness of your chosen wool, you will end up with a tube like the one above. You’ll need a pair of scissors, a bodkin (such a clever little tool, that one!), wool for the stitching and your finger knitted tube.
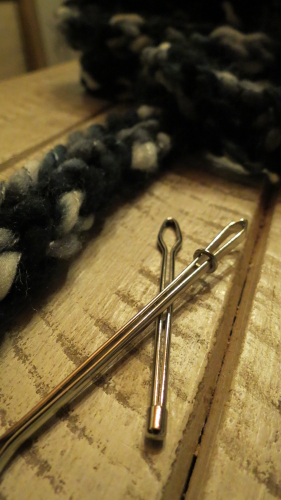
There are two types of bodkins, use the bottom one for the stitching, the top one can be used to replace drawstring and pull elastic, cording or whatever through an enclosed casing.
Measure the width and length of your snood by coiling the tube around your frame.
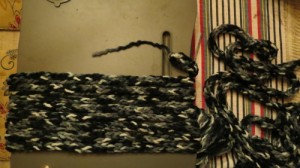
Start stitching the outer edges of your coiled tube together. Using a thick, chunky wool makes it easy to hide the ends of the stitching so do use short lengths of wool for the stitching, it is MUCH easier that way.
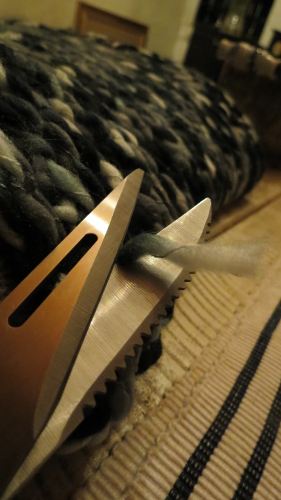
Once you have completed the stitching, snip off all the loose ends.
And voilà, a snood to keep you warm this winter!
Do you have any other ideas of how one can use finger knitting to make functional, everyday items? Share it with us on Facebook!



1 comment for “Finger knitted snood”