Yay!! Spring in Pretoria has sprung. I spent the day in my lovely airy, filled-with-light office, wearing summer clothes! Snor City might have many things wrong with it, but the weather is VERY definitely not one of them. I actually spied a hummingbird feeding from a strelitzia this morning, I didn’t even know one found them in South Africa. Freaking magical :D! The bees are buzzing away in the lavender and the jasmine by the bedroom window has tiny little blooms on it. I was hoping that the presence of this little guy meant that we’ll have some rain to wash away the dreadful August dust, but alas, no joy. 
I saw this idea on So You Think You Are Crafty sometime ago, but I am a little weary of drilling holes in ceramics and since enamel plates are as South African as braaivleis and koeksisters I decided to rather go with that. Also enamelware turns out to be dirt cheap so you can scatter a few feeders throughout the garden without breaking the bank. I bought six plates for R25 and the washers, nuts and threaded rod was about R25 at Builder’s Warehouse. Initially I wanted to use bowls at the bottom, but I fear they might end up being just a little too deep – I will keep an eye out for smaller bowls though.
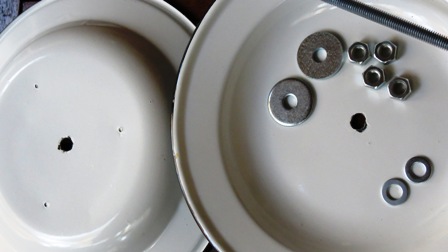
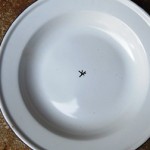
You will need two enamel plates (or a plate and a bowl), six small washers, 2 bigger washers and eight nuts for one bird feeder.
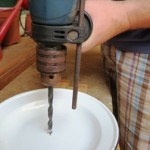
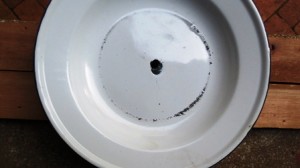
- Mark the centre of the plate and drill a hole through it.
- Turns out that enamel is pretty hard-wearing stuff though and the drill doesn’t even scratch the surface.
- Use a hammer and nail to make a small hole in the top plate, this will give the drill bit some purchase and get the drilling started.
- Then it is just a matter of assembling the different components.
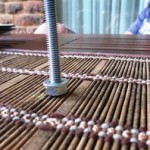
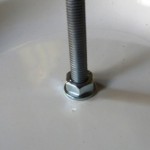
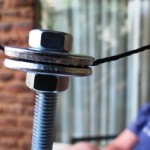
Nut, washer, plate, washer, nut – times two.
 I used the two big washers to secure the nylon rope around the rod leaving the ends free so that I could tie them tightly around a branch. This makes the feeder quite stable.
So now The Seedy Bar @3623 was open for business but I was not happy with the decor. After all, everything trendy has a bird on it. But oh dear me, it turns out I am not all that good with stenciling. As a matter of fact I might be worse at it than what I am at tenpin bowling /0\.
 I tried making my own stencil by printing out this beautiful printable transfer and cutting it out with a utility knife. It didn’t work at all, the paper is too thin and it ended up just being one big mess. I tried making the ‘stencil’ stronger by sticking it on masking tape and then cutting it out and although it worked marginally better, it was still not a win. So I figured I’ll just paint that plate black. Certainly the coolest goth birds in Pretoria can hang out there.
 So the next idea was to use blackboard paint and maybe advertise this year’s special – Marlton’s Wild Bird Seed (it was bought in bulk) – using chalk. But unfortunately after a test scribble I tried to wipe it clean and well, I wiped it CLEAN. So this week’s top tip – only use enamel paint on enamel wear. Nothing else seems to stick to it. (Hmmm, just remembered I still have some Tile and Melamine primer somewhere, that might have done the trick… will try some other time.)
So in the end, what did I do?? I cut out the birds, stuck them on some masking tape, gave them a fat coat of clear nail varnish – the nail varnish because I know glue has a way of smearing ink all over the show – and then used wood glue to stick them onto the plate. One day I will unearth the varnish somewhere in our garage and give them a protective coat of that.
So there you have it, a really cheap and easy bird feeder with added bonus – Birds on ItTM! I kept an eye on it during the day, but I have yet to see any customers. I’ll be waiting for them and some rain, but until then at least I have a flock of paper swallows.
Happy spring celebrations, until next time!




1 comment for “Its for the birds!”