Wikipedia defines Light Painting as “… a photographic technique in which exposures are made by moving a hand-held light source or by moving the camera.” By using long exposures, a light source can be used to trace an image or text onto the exposure over time. The longer the exposure, the more time you have to draw more intricate shapes, patterns or text.
The first examples of light painting date back all the way to the early 1900s, when Frank Gilbreth and his wife used light sources to track the movement of factory and clerical workers. This was not done for artistic purposes, but as part of a study on efficiency and productivity in work processes.
Digital photography – as well as the lower cost of experimenting due to not having to develop film to see results – has put the capabilities necessary for light painting in everyone’s hands and the concept has won widespread appeal with many examples to be found on the internet.
We had some time recently at a friend’s game farm to experiment ourselves, using a Canon SX 40 HS. It comes equipped with a function to delay the shutter speed, but only to a maximum 15 seconds’ exposure. In order to be able to get the best result you would probably want a camera that can give you longer exposures to be able to capture the background correctly as well as to prevent ghosting, which is where you can see shadows of the people doing the actual painting moving around in the shot.
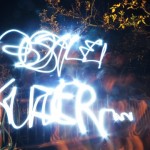
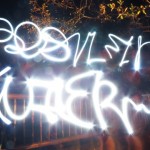
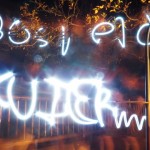
The deficiencies in our setup below are evident in the ghosting. The area was fairly well lit, so the background is exposed sufficiently. Note: This was supposed to read “Jus” 🙂
Here are some handy tips that we picked up:
- You can really only attempt this in low-light conditions, as the long exposure will cause over-exposed backgrounds,
- The longer the exposure, the better – you want to get as much detail into the shot as possible and capture as little movement as possible,
- A tripod isn’t an absolute necessity, but it does make things a whole lot easier, and
- Realise that when you go about painting text that, when facing the camera, you need to reverse the text!
- We used headlamps for our painting but sparklers and glow sticks also work very well and creates interesting photos.
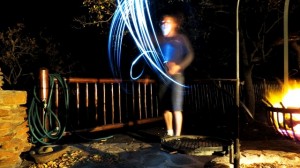
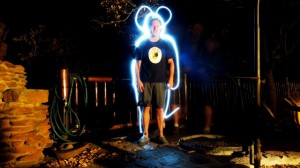
You can get up to some pretty cool stuff! Here is Grant swinging his headlamp around and Ronnie as Mickey Mouse…
And then Vida had this idea…
It took a couple of tries (eleven to be exact), and in the end we had to overlay two images to get the final result:


1 comment for “Paint your photos with light”