I adore my Kindle, it is my sanity saver. Standing in queues is not a problem for me anymore, I whip out the Kindle and before you know it, it is my turn to be served. (I am convinced that it might inspire me to turn up early for appointments just so that I can read while I wait. I notoriously run on African time.) But regardless, keeping your Kindle protected turns out to be rather expensive and if your handbag is anything like mine, it is a very definitely a necessity.
So off to the Google Internet machine to see if I can find anything that might solve my problem cheaply and easily. There are a couple of tutorials on the web ranging from an all out sewing your own cover to, as one smart Aleck suggested, putting it in a Ziplock bag, that way it is waterproof as well. I decided to go for the no sewing option as I am still a novice with the sewing machine and using glue and an old book sounded a whole lot easier.
So the list of goodies that I used to make my cover:
- Croxley hard cover exercise book (depending on your Kindle/iPad either A4 or A5 size)
- Ruler and pencil
- Scissors
- Grommet pliers
- Glue (Wood, clear and Sew Simple)
- Material
- Leather shoelace and button
- Clear elastic
- Plenty pegs and binder clips
- Cardboard box
- Rubber mallet, an old plug, a concrete and a roof nail (unexpected tools these, but they were used so they are on the list)
The most expensive item was the grommet pliers at R120, but there are cheaper options available and as you will see you don’t really have to have them. (But they do make the task much easier.) I spent R70 on the shweshwe material, although I bought extra for throw pillows, so I figure I spent about R16 on material for the cover. The leather and elastic was R7/m each and the exercise book was R10. So total cost of project R160 of which the bulk is the pliers, and they will very definitely be used in future adventures.
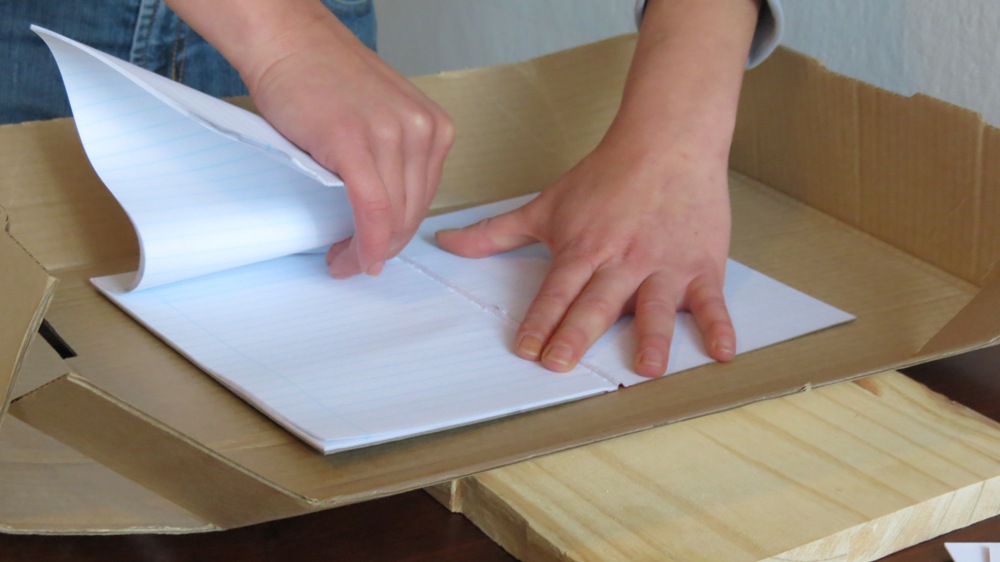
First carefully tear out the pages from the exercise book, taking care not to damage the spine. (Don’t throw away the pages, use the utility knife to cut off the glued edge. Line up the pages and make notebooks using the grommets and pliers. Waste not, want not and all!)
Using the utility knife cut four reinforcement panels from the cardboard box. The front and back page will have two each, to make the panels even stronger, cut one panel with the cardboard grain and the other perpendicular to the grain.
Paste the two panels together.
Because there is no “shared” grain the panels will be much stronger.
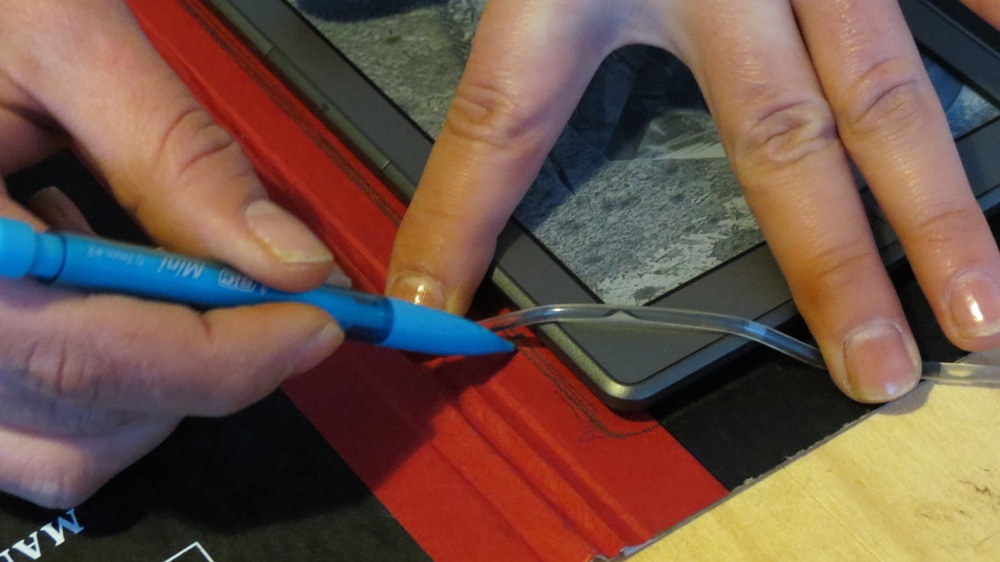
Mark out the size of your Kindle on the back of the back page.
Mark where you would like the holes for the elastic. Use your ruler and pencil to mark the rest of the holes.
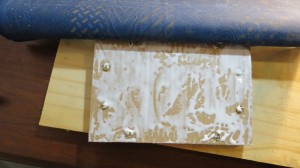
Cover the inside of the book with clear glue. Top tip here, be sure to spread out the glue with a brush or piece of cardboard. I didn’t and the glue came through the fabric in patches. It very definitely does not look good.
Plonk the book down (carefully) onto the material and secure the edges of the material around the edges of the book with binder clips or pegs.
Once the glue has dried remove the clips and punch holes in the back page, using the marks you made earlier to guide you. Here I ran into my first issue, the holes along the edge of the page are easy peasy, align the punch to the marks and punch, but oh dear, what about the holes running along the spine of the book?
Hmm, going to have to think about it so I start putting the grommets into the holes which I could make. Another take care tip here. Make sure the pliers are properly aligned with the grommet and take your time to do it. I rushed and screwed up one of the grommets /0\!
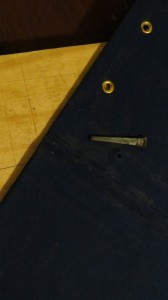
So now six of the eight holes are done. The two running along the spine of the book are still a problem. How to make the holes? Once the holes are done, how am I going to get the grommets flat?? So improvise, ‘n boer maak ‘n plan and I start raiding all known toolboxes in the house. An awl would be perfect to make the hole, but alas no awl… So something sharp and pointy, but also thick… Hmmm a sosatie stokkie? No, too blunt. Ha, the Hilti. It uses sharp little nails. Take it. Ha, the grommet fits around the roof nails. Take it. Hmmm, the hole is going to have to be slightly larger than the grommet, so something slightly thicker than the roof nail. Ha, a steel cut nail. Excellent! I think I have the makings of a neat little hole.
 Now for the flattening of the grommet. Hammers, yes. But I am going to need something round to get the ‘lip’ of the grommet flat. I am thinking a ball bearing would be perfect, but there are certainly no ball bearings in the house. I realise that I do actually have the perfect tool for the job, having just fixed an extension cord I figure that the longer prong of a plug will work perfectly. I get the broken iron from the pantry and you know it. A rubber mallet and the longer prong of a plug works perfect for flattening the lip of a grommet. The going is slow, but when I am done you can hardly tell the difference between the holes.
All eight holes are done and so I can finally get on with making the cover.
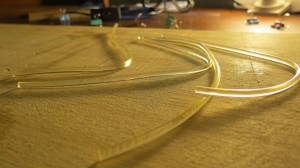
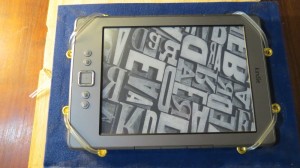
Measure the length of elastic needed to keep your Kindly snug.
Secure the elastic with clips and the tie knots one by one.
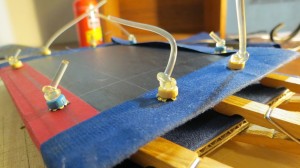
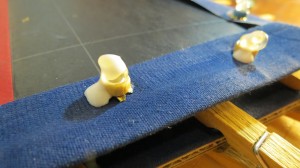
I added a tiny wooden bead before I tied each end, thinking that it might help keeping the knot secure. I also put a drop of wood glue on each knot hoping it will also help with keeping the knot tied. Only time will tell whether these measures were successful.
Now the gluing starts in earnest. Glue a reinforcement panel to the outside of your front page.
I made holes in the reinforcement panel to fit over the knots in the back page. I didn’t use glue here as the knots keep the panel nicely in place.
The knots were still higher than the reinforcement panel so I decided to use stuffing from an old pillow to pad the back page and hide the knots.
Cover the front page of the book with glue (making sure to spread it evenly) and carefully press the material down on it. I made a major mistake here. I pulled the material too much and ended up loosing a lot of play in the spine of my book, so it doesn’t close as properly as I would have liked it to.
Apply glue to the edges of the material and secure it with clips. I found that the clear glue works best for this bit. The Sew Simple makes a bit of a white mess. I left the clips on over night to make sure that the glue bonded properly and in the morning I could not really tell the difference between the edges that I glued with Sew Simple and the ones I glued with clear glue.
Here you can see how covering the book to tightly influences its ability to close properly.
The glue set very well overnight and the glued edges stayed put when I removed the clips. Yay! The cover is finished and now only the finishing touches remain. I tried removing the glue on the inside material with a damp cloth, but no joy, they are there to stay.
I have yet to sew the button onto the cover as I would really like a wooden button instead of the plastic one I have at the moment. It will work best to sew the button on the back page where the material is not glued to the book.
The mistakes I made:
- Not spreading the glue evenly before gluing the material.
- Using elastic that is too thick. It hampers the closing of the cover and caused a whole boat load of extra work to try and hide the knots.
- Covering the book too tightly.
- Not washing the shweshwe I used on the inside first, the blue stains the back of the Kindle.
Things I’ll do differently in future:
- Use a thinner material for the reinforcement panels. (The stuff from which clipboards are made will do nicely, I am sure.)
- Find a better solution than knots to keep the elastic from going through the grommet holes. (Whatever happens at the end of shoe laces is the starting point for that solution me thinks…)
Things I learned from this project:
- Shop around until you find what you are looking for. Don’t settle for “will do for now”.
- Don’t be scared to try things to get the job done… seriously a plug prong, who would have thought?
- Everything is easier said than done. But I think this cover proofs that if you set your mind to it, you can pretty much figure out a way to do anything you want to do.
And that is it folks, one homemade Kindle cover done and dusted. Share any feedback and other ideas on Facebook. I am already envisioning a wood, felt and leather cover for a more masculine cover, but that idea will have to stay on the back burner until I can operate woodworking equipment.
PS) Dem notepads 🙂













1 comment for “How to make your own Kindle cover”